You are at the back window, looking at an empty yard and unsure where to start. For garden design ideas that hold together, plan the layout first: pick the view from indoors, end it with a focal point, then add paths and beds.
The routes below follow that order, moving from layout to small yards, borders, sun and awkward spaces. Each route points to a deeper guide. If your plot is tight, Small Backyard Garden Ideas: 12 Clever Ways To Maximize Space In 2026 is the quickest next step.
Choose your route
Find the goal closest to your situation and read that route first. Layout decisions shape every other route, so the layout route is worth reading even if you already know what you want to plant.
- Starting from a blank yard: The planning route covers windows, sightlines, focal points, paths and dividing the space.
- Working with limited space: Route 2 covers the balance of planting and paving, colour, surfaces and vertical planting.
- Planting a bed or border: The border route builds a flower border from structure upward.
- Growing food or choosing plants by light: The light route matches sun and shade to what you plant.
- Dealing with a front yard, slope or corner: The front-yard route lists focused guides for street-facing and awkward spaces.
- Chasing a particular style or a tight budget: Route 6 covers themed gardens and lower-cost starts.
Route 1: Plan the garden layout before the plants
A garden layout is the plan for views, routes, sections and planting areas. It is much easier to change on paper than after the beds are dug. Love Your Landscape defines sightlines in landscape design as clear paths that direct the eye to a focal point, a view, or from the house to the garden. Treat sightlines as the skeleton of the plan, and fit everything else around them.
Start with the windows
The Love Your Landscape guide advises lining up garden views with windows, which means starting inside the house. Note which rooms you use most, and place a focal point where the eye falls from the window. Before touching the yard, stand at the kitchen, living room or desk window and look out. The window you use most deserves the strongest view. Windows you rarely look through can have a simpler one.
End each sightline with a focal point
The same guide says to place an object or plant at the end of the sightline. Its examples of a focal point include a shapely shrub, a specimen tree, a potted container, or a bench or urn set into a bed. Choose by how settled you are. A tree or shrub is a long-term commitment, while a container lets you test a position before you commit to it. Settle the focal point before the surrounding planting so that the beds frame it instead of competing with it. One clear focal point per view reads better than several of equal weight.
Let paths do double duty
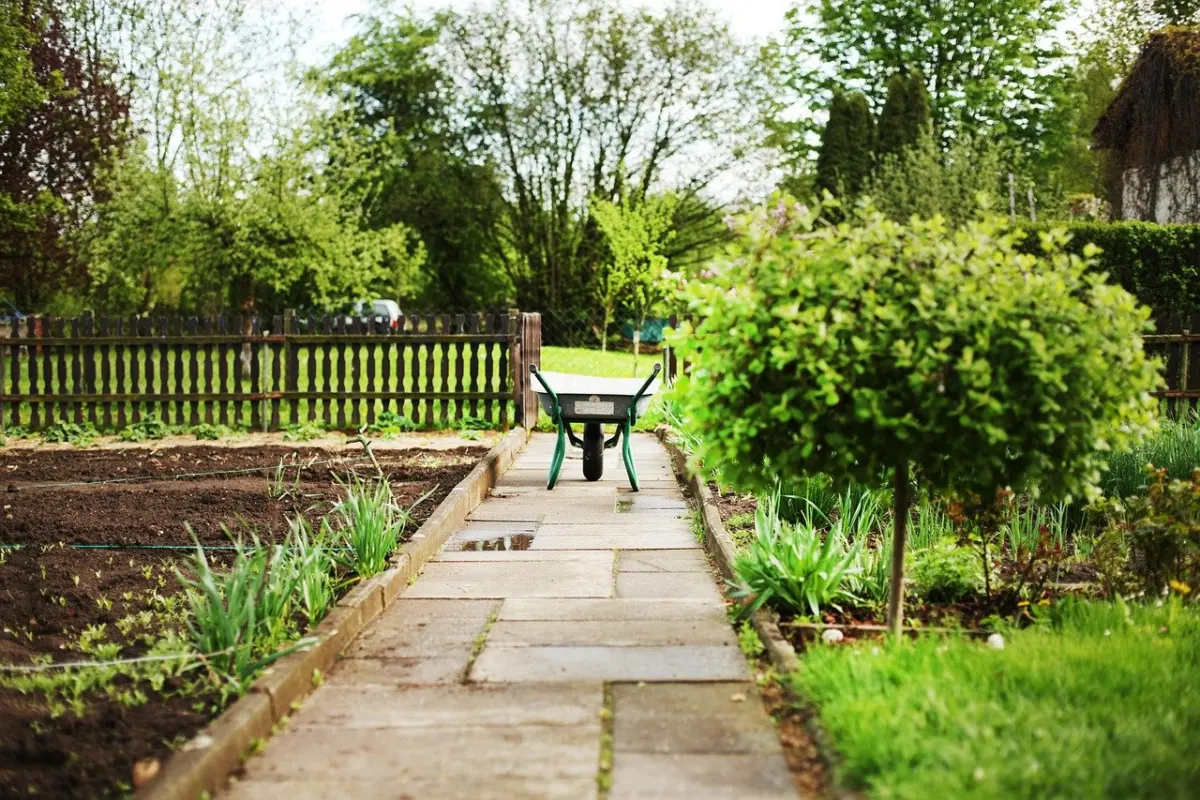
Straight pathways are easy to use as linear features, and the centre of a straight walkway is kept clear by default. Love Your Landscape adds that straight lines going away from you tend to draw you forward, and that linear features aligned on a sightline can visually stretch a space. If you want the yard to feel longer, aim the main straight path at your focal point. For materials and setting out, see our guide to garden path ideas. Once a path or bed line is fixed, garden edging ideas helps you choose how to finish it.
Divide the space so it is not seen all at once
Gardeners’ World suggests dividing a garden with flowerbeds, screens or hedges to break up the space. Pick the divider by the job it has to do. A bed adds planting, while a hedge or screen makes a firmer break. Our guide to garden rooms ideas shows how to split a yard into zones. Best plants for a hedge covers species and spacing if you choose living dividers. For solid or open boundaries and gates, see garden fence ideas.
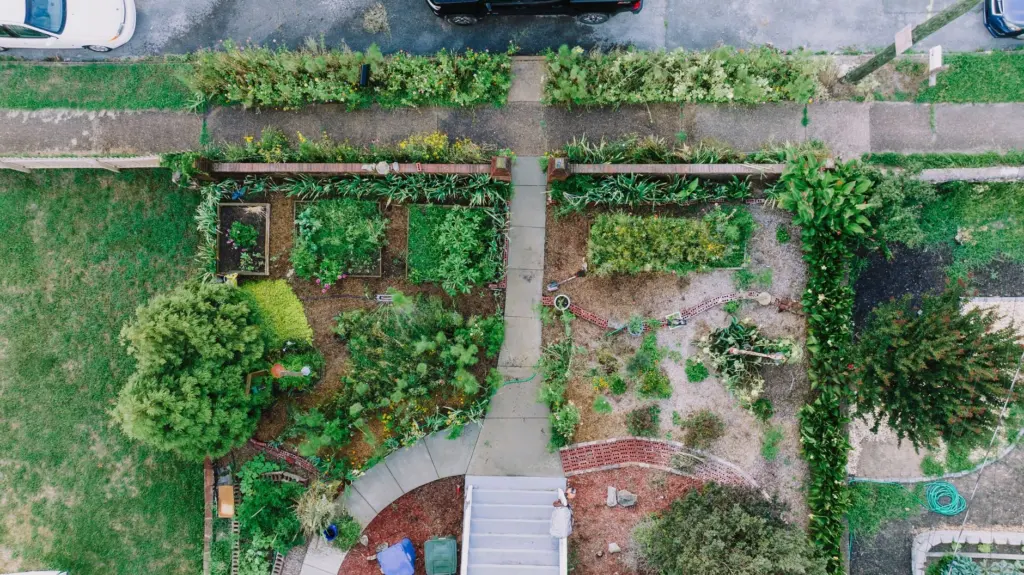
Drawing order for your own yard
Work through these steps on paper in this order, because each one constrains the next.
- Sketch the outline of the yard and mark the house, doors and windows.
- Circle the windows you look through most.
- Draw a line from each circled window to a chosen focal point.
- Decide which of those lines will be a clear path, and which stay open lawn or planting.
- Mark where beds, screens or hedges will break up the view.
- Leave plant choices until the plan shows how much planting space you have.
Route 2: Make a small yard work
A small yard suits a deliberate balance of planting and hard surface, light and cool tones, and planting that uses height instead of ground. Garden Design’s idea gallery covers small urban lots, shady side yards and wide backyards, so the same principles scale across plot types.
Balance planting and hard surface
Gardeners’ World suggests that a small garden aim for a ratio of around 50 per cent planting and furniture to 50 per cent paving or decking. Treat this as a starting proportion rather than a rule. Draw your patio at half the plot, then adjust once you know how many people will sit there and how much planting you want. If the plan feels cramped, the patio is usually the first thing to shrink.
Colour and surface choices
Light-coloured materials such as light paving, gravel or pale boundary paint bounce light around and make a garden seem more spacious, according to the same Gardeners’ World guide. Colour works in a similar way. Cool colours such as blue and purple seem further away, while red and orange appear closer. A back border planted in blue and purple can make the far end of a small yard feel more distant. Warm reds and oranges suit the area near the house or seating, where you want the planting to feel closer.
Use height instead of ground
Garden Design notes that as properties decrease in size, gardeners learn to make use of vertical spaces and green walls. Our guide to vertical garden ideas covers how to apply that to walls and fences. Gardeners’ World adds another way to gain planting space: put containers on a planting stand with different levels. This works best where the floor is already spoken for by a path or seating, because it adds planting without taking more ground.
Match the ideas to the shape of the yard
Not every small yard is a square. A narrow side passage calls for a different approach from a short, wide back garden, and our guide to side yard landscaping ideas deals with the first case. For a compact back garden that needs to work hard, Small Backyard Garden Ideas: 12 Clever Ways To Maximize Space In 2026 goes further. If lawn is taking space you would rather plant, lawn alternatives shows what can replace it.
Route 3: Design a flower border
To design a flower border, start with a permanent backbone of structural plants, add height in layers, repeat a limited palette, and give the bed enough depth to carry it. Each step below follows that order.
Start with the backbone
Gardeners’ World says trees and evergreen shrubs provide a permanent backbone for the garden and add interest in winter. Place these first. They hold the border together when the flowers die back, so the bed is not bare for part of the year. If you are drawing a border onto the layout from the planning route, mark these plants at the corners, ends and focal points, then fill the spaces between them.
Add height without losing floor space
Height is the difference between a flat bed and a layered border. The same guide offers two ways to add it without taking much room.
- Tall bulbs: alliums, agapanthus or lilies add height without taking up much ground space, which suits a narrow bed.
- Obelisks with climbers: sweet peas on an obelisk add height without growing too wide.
- Structural shrubs and trees: these set the upper level of the border, with the lighter plants working beneath them.
Choose bulbs where you want height that rises out of other planting. Choose an obelisk where you want a fixed vertical accent that stays slim.
Repeat a limited palette
Gardeners’ World advises repeating a limited set of plants, which makes the design look cohesive and less bitty. In practice, pick a few plants you like and run them through the length of the border in repeating groups, rather than buying one of everything. For plant ideas in a looser, mixed style, Cottage Garden Plants: 25 Charming Choices And Simple Plans To Plant In 2026 offers a shortlist to choose from.
Give the border room
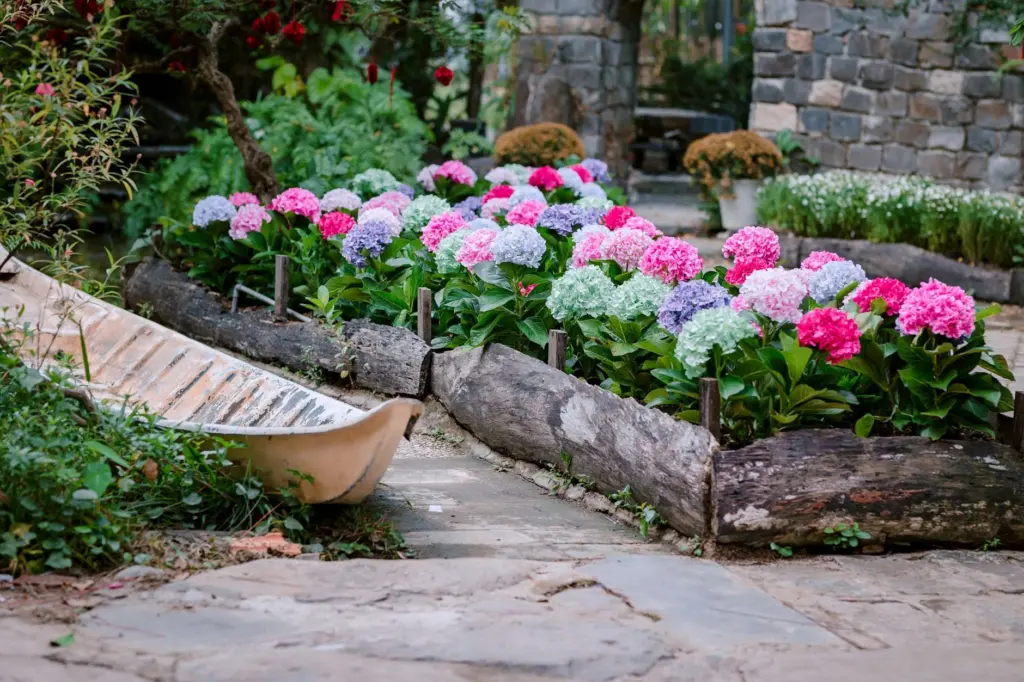
Many borders fail because they are too shallow to hold layers. Gardeners’ World suggests reducing the space for a lawn or patio and making borders or beds bigger, which allows greater planting depth. When a border feels thin, take the extra width from the lawn first, because a lawn edge is the easiest line to move. Use the paths and sightlines from the planning route to decide which side to widen. A bed should not block a clear line to your focal point, so keep the centre of that line open.
Route 4: Match the layout to sun and shade
Light decides what grows well in each part of the plan, so mark the sunniest and shadiest areas on your sketch before you commit to beds. The comparison below uses the Gardeners’ World small-garden guidance and turns each condition into a planning decision.
| Light condition | What the guidance supports | Planning use |
|---|---|---|
| Around six hours of sunshine a day | Most fruit and vegetables need this to produce good crops | Reserve the sunniest part of the plan for food growing |
| A sunny spot | Trained fruit trees grow best here and need little maintenance apart from pruning | Give them a sunny position; the ongoing job is pruning |
| South- or west-facing garden | Potager-style beds suit these gardens | Choose a potager layout if your garden faces these directions |
| Small north-facing garden in deep shade | Hostas, lilyturf or Euphorbia amygdaloides var. robbiae are suggested | Build the border around shade plants rather than sun lovers |
These figures and plant suggestions come from Gardeners’ World’s small garden guide; “around six hours” is a general figure for most fruit and vegetables, not a fixed rule for every crop.
Decide where food goes first
Because most fruit and vegetables need around six hours of sun a day, the sunniest area is the best place for food. Decide this before you place a patio or lawn, since seating can often move to a shadier spot more easily than a crop bed can. Our guide to vegetable garden layout shows how to arrange crops once you have that area. Herbs are a good fit for a smaller sunny patch, and herb garden layout shows how to plan one.
Raised beds for growing areas
A raised bed gives a growing area a clear edge and height. Gardenary describes one project that gave a client two cedar raised beds, each 2 ft tall, plus a metal planter. That is a useful reference point for a bed height to sketch onto your plan. To arrange several beds, see raised bed garden layout. If cost is the constraint, Cheap Raised Garden Bed Ideas: 10 Budget-Friendly Builds For Small Spaces In 2026 covers cheaper builds.
When shade shapes the plan
If your yard is mostly shaded, the listed shade plants are the safer starting palette. Use them as the repeated plants in a border so the design still looks cohesive. Do not force a food bed into a spot that gets much less sun than the figure in the table, because the layout is better spent on a seating area or a shade border.
Route 5: Front yards, slopes and awkward corners
The layout-first method also works at the front of the house, where the view from the street and the approach to the door matter as much as the view from a window. These guides each take one situation in turn.
- Street-facing yards: Front Yard Landscaping Ideas: 10 Easy Upgrades To Boost Curb Appeal In 2026 is the general starting point.
- Changes in level: Sloped Front Yard Landscaping Ideas: 12 Stylish, Low-Maintenance Solutions For Any Grade deals with a front yard that falls or rises.
- Odd-shaped spaces: Corner Landscaping Ideas For Your Front Yard: 12 Stylish, Low‑Maintenance Designs To Transform Awkward Spaces suits a corner that no obvious layout fits.
- Cottage-style frontage: Front Yard Cottage Garden Ideas: Charming, Low-Maintenance Designs For Small Spaces (2026) pairs a relaxed planting style with a small front space.
- Dry climates: Front Yard Desert Landscaping Ideas: Stylish, Low‑Water Curb Appeal for 2026 is for low-water front yards.
- Stone-led frontage: Front Yard Rock Landscaping: Practical Ideas To Boost Curb Appeal In 2026 covers rock as a main material.
Choose the guide that matches the physical problem first and the style second. A slope or a corner limits what you can build, whereas a style such as cottage or desert can be applied once the layout works. In every case, draw the approach to the door as a sightline and give it a focal point, using the same method as the planning route.
Route 6: Style-led and budget-led gardens
Some readers start with a mood or a limit on spending rather than a plot shape. Both can sit on top of the layout from the planning route without changing it.
Themed gardens in small spaces
A themed garden is easier to hold together in a small area, because the same limited-palette idea applies: fewer, repeated elements look more cohesive. Small Japanese Garden Ideas: Create A Serene Mini Retreat In Your Yard (2026) is one route for a calm, compact retreat. For a personal tribute in a corner of the yard, Small Memorial Garden Ideas: Create A Meaningful Tribute In Any Small Space (2026 Guide) gives ideas that fit that purpose. In both cases the focal point in your layout is the natural place for the main feature.
Starting on a budget
Gardeners’ World describes hanging planters as an inexpensive way to add greenery, and the cost-conscious choices in this guide are the ones that reuse space: containers on a stand, climbers on an obelisk, and planting in place of paving. For a wider look at lower-cost choices across a whole yard, 10 Budget-Friendly Backyard Landscaping Ideas That Transform Your Space in 2026 is the route to take. Spend first on the pieces the layout depends on, such as the path to the focal point and the dividers, and treat additional planting as the part you can add over time.
Bringing the routes together
Most yards use more than one route. A sensible order of work follows the dependency between decisions, so that nothing is moved twice.
- Fix the skeleton: window views, focal points and the main path from the planning route.
- Allocate space: set the planting and paving split, and mark the sunniest area for food if you want it.
- Add the backbone: structural trees and evergreen shrubs, then the dividers.
- Fill the borders: add height with bulbs or obelisks, then repeat a short plant list.
- Finish the edges and extras: edging, vertical planting and containers go in last because they depend on everything above.
If you can only do one thing this season, make it the window-to-focal-point line. It is the cheapest decision to make and the hardest to correct later.
Frequently asked questions
| Question | Answer |
|---|---|
| Can a flower border fit in a narrow strip? | Yes. Gardenary notes that border gardens can fit just about anywhere, including the awkward strip between a fence and a driveway. Use tall bulbs or an obelisk for height so the border does not need width. |
| Do sightlines work in a small garden or apartment? | Yes. Love Your Landscape says emphasizing a sightline from inside the house to the outside works for small gardens and apartments, and that it can make the space feel larger. |
| Is a symmetrical layout right for every yard? | No. Gardenary describes a side yard at least 15 feet wide as suited to a four-garden classic layout, where symmetry between the two sides creates balance, harmony and order. A narrower yard is usually better served by one clear sightline and a single divider. |
| Where do hanging planters help? | They suit a boundary or shed wall. Gardeners’ World calls them an inexpensive way to add greenery there, which makes them a low-cost way to add planting without using floor space. |