| Decision | Typical value or condition | Planning use |
|---|---|---|
| Hardiness zone | The USDA map has 13 primary zones, each a 10°F difference | Compare your zone with the zone on a plant tag before you buy. |
| Light for leafy greens, herbs and many root crops | Four to five hours of direct light a day | Suits a partly shaded bed or a spot that is sunny only for part of the day. |
| Light for tomatoes, peppers and cucumbers | Closer to six to eight hours of direct light a day | Give these crops the sunniest part of the plot. |
| Number of crops in the first season | Two or three | Keeps timing, watering and pest checks manageable while you learn. |
| Watering | Water when the top inch dries, not on a schedule | Test the soil with a finger before reaching for the can or hose. |
| In-ground bed soil | Native soil with compost and a top-dressing of mulch | Improve the soil you have instead of replacing it. |
These figures come from a hardiness zone guide and a beginner growing guide.
How to start a garden for beginners comes down to choosing a sunny spot, matching plants to your hardiness zone, feeding the soil with compost and growing two or three crops at first. Water by touch, not by calendar.
This guide follows the order of the work, from site to soil to pests. For the wider topic, see Plants and Gardening Basics. The later sections point to focused guides for individual plants.
Choosing a site and layout
Light decides which crops a spot can carry, so judge the site before you buy anything. A beginner growing guide notes that every edible crop wants real light, with at least 4 hours of sun as the floor, or a grow light where the sun cannot deliver it. Beyond that floor, the amount of light sorts crops into two broad groups.
Matching crops to the light you have
Leafy greens, herbs and many root crops produce well with four to five hours of direct light a day. Tomatoes, peppers and cucumbers want closer to six to eight hours. Treat these ranges as sorting categories rather than targets to chase. A bed that is sunny only through the morning is a good home for lettuce, green onions and herbs. It is a poor home for tomatoes, however carefully you water them.
Watch the spot on a clear day before you commit. Note when shade from a fence, a building or a tree arrives and when it leaves. If you plan a flower border of sun-loving perennials, a separate planting guide recommends picking a spot with at least 6 hours a day of sunlight. That is a stricter requirement than most herb or salad beds, so the brightest ground belongs to the plants that need it most.
Starting small
The sensible first-season size is the one you will actually look after. The same growing guide advises beginners to start with two or three crops. Each crop brings its own timing, light needs and watering habits. A small number lets you build a routine before the garden becomes a chore. Adding a crop in the next season is easy. Pulling out a neglected bed is discouraging.
If the available ground is tight, a balcony corner or a few feet beside a path, the layouts in Small Vegetable Garden Ideas: 10 High-Yield Layouts and Smart Hacks for Tiny Spaces (2026) show how to fit more growing into little room.
Arranging plants within the bed
Place taller plants at the back and shorter plants at the front, as a nursery design guide for new gardens advises. The rule suits a bed viewed from the front, and it has a practical side. Short plants stay in the light and stay within easy reach for picking and weeding, while tall tomatoes, staked flowers and climbers stand behind them. Plan the paths and the water source at the same time as the beds, because a bed you cannot reach comfortably gets neglected.
Hardiness zones and planting timing
The USDA Plant Hardiness Zone Map tells you how cold your winters get, which in turn tells you which perennials will survive outdoors. It does not tell you the date of your last spring frost, so treat it as a first filter for plant choice and use local conditions for the final decision on dates.
What the zone number measures
According to a guide to hardiness zones across the USA, the map divides the country into 13 primary zones, each representing a 10°F temperature difference. The zones are based on the average annual minimum winter temperature. A plant labelled for your zone, or a colder one, can be expected to cope with a typical winter in your area. A plant labelled for a warmer zone is a gamble outdoors.
Finding your zone
Find your area on the USDA map and read the zone number for your location. Then use that number as a filter at the nursery. The same guide advises always checking the zone information on plant tags or in plant descriptions when planning your garden. That habit matters most for shrubs and perennials, which stay in the ground through winter. It matters much less for annual vegetables that you replace every year.
Planting calendar by zone group
Zones also group into broad planting patterns. The table shows the timing that the guide gives for each band. Use it as a starting point and adjust to the weather in your own area.
| Zone group | Seed and transplant timing | Planning use |
|---|---|---|
| Zones 1-3 | Start seeds indoors in late winter (February to March); the last frost can come as late as June | Do the early work indoors and hold back anything tender until frost has clearly passed. |
| Zones 4-6 | Start seeds indoors around March; tender plants wait until May or early June | Sow hardy seeds early and keep tomatoes, peppers and cucumbers undercover until the weather settles. |
| Zones 7-9 | Direct sow seeds of vegetables and flowers as early as March | Skip indoor starting for easy crops and sow straight into the bed. |
| Zones 10-13 | Grow year-round, but avoid the peak summer months and plant from fall through spring | Schedule major planting for the cooler seasons rather than midsummer. |
The planting patterns above come from the hardiness zone guide.
Zone bands are broad, and crops differ within them. Once you have chosen what to grow, When To Plant Tomato Plants: The Simple Timing Guide To Maximize Yield In Any Zone (2026) narrows the timing for the most popular beginner crop. When Is The Best Time To Plant Potatoes? A Practical Guide For Every Climate (2026) does the same for a crop that is planted on a different cue.
What to grow first
Easy crops share a trait: they forgive imperfect conditions. The best first-season choices are the ones that match the light you measured in the site section, not the ones that look most impressive on a seed packet.
Easy vegetables and herbs
The beginner growing guide describes basil, lettuce and green onions as nearly impossible to fail with, including indoors or in containers. That makes them the safest picks for a windowsill, a balcony or a first raised bed. They also sit in the lower-light group from the table at the top, so they suit gardens without a full day of sun. Leafy greens, herbs and many root crops generally fit that same group.
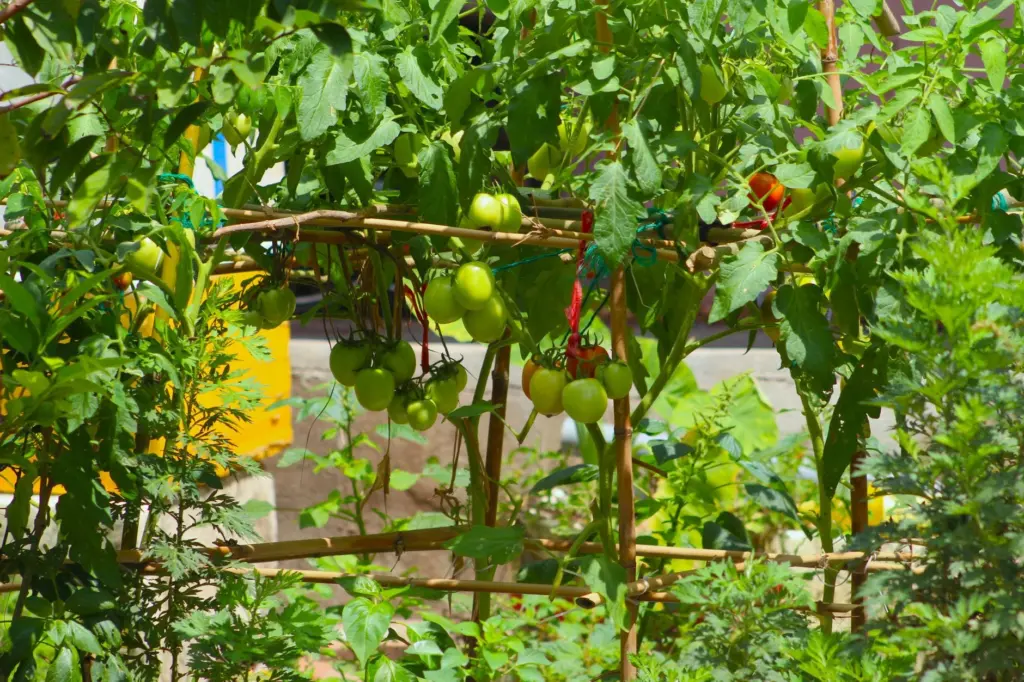
Tomatoes, peppers and cucumbers are rewarding but need the brightest spot, so choose them only if you have it. Tomatoes are the usual first step up. Staking keeps the plants upright and the fruit off the soil. The full routine is in how to grow tomatoes, and neighbouring plants are covered in Companion Planting For Tomatoes: 12 Best Picks, What To Avoid, And How To Plan In 2026. Cucumbers follow their own pattern, set out in how to grow cucumbers. Garlic suits gardeners who prefer a low-maintenance crop, and how to grow garlic covers it.
Perennials for a lasting bed
Perennials return each year, so they reward a little patience and a careful choice at the start. A perennial planting guide notes that most perennials can be planted any time from the last winter frost through autumn, which gives beginners a wide window. That window is generous, but the zone on the plant tag still decides whether the plant survives winter.
Gardeners unsure whether a border should be made of perennials or replanted annually can compare the trade-offs in Annuals Vs Perennials: What To Plant. For summer colour that is sown fresh each year, How to Grow Zinnias: Easy Steps For Big Blooms All Summer (2026) is a good first flower. Flowering shrubs need a different kind of care once they are established. How To Prune Hydrangeas Like A Pro: Timing, Techniques, And Tips (2026 Guide) covers one of the most common.
Soil, compost and mulch
Soil is the part of a garden that can be improved most cheaply, and the guidance is to work with the soil you have. For in-ground beds, the beginner growing guide calls native soil with compost and a top-dressing of mulch the right answer. Replacing the soil is rarely necessary.
Diagnosing poor soil
Start by recognising the two extremes. Compacted soil suffocates roots, and bone-dry soil starves them. Texture is the next clue. A nursery design guide advises adding sand to clay soil to improve drainage, and adding organic matter to sandy soil to help it retain moisture. The two fixes pull in opposite directions, so identify your soil before adding anything. Sand in a bed that is actually sandy, or organic matter in one that already drains freely, solves nothing.
Using compost and mulch
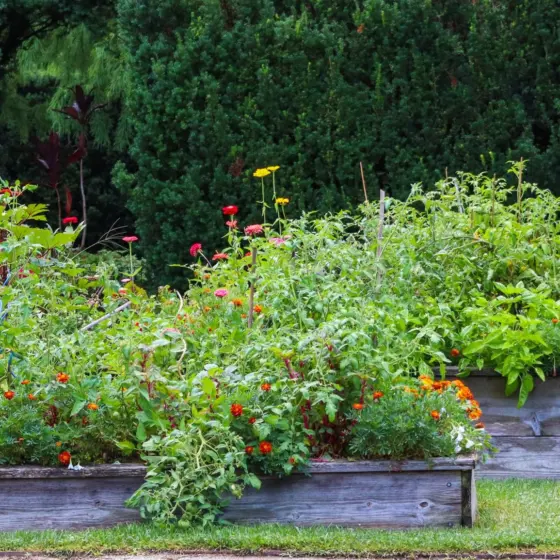
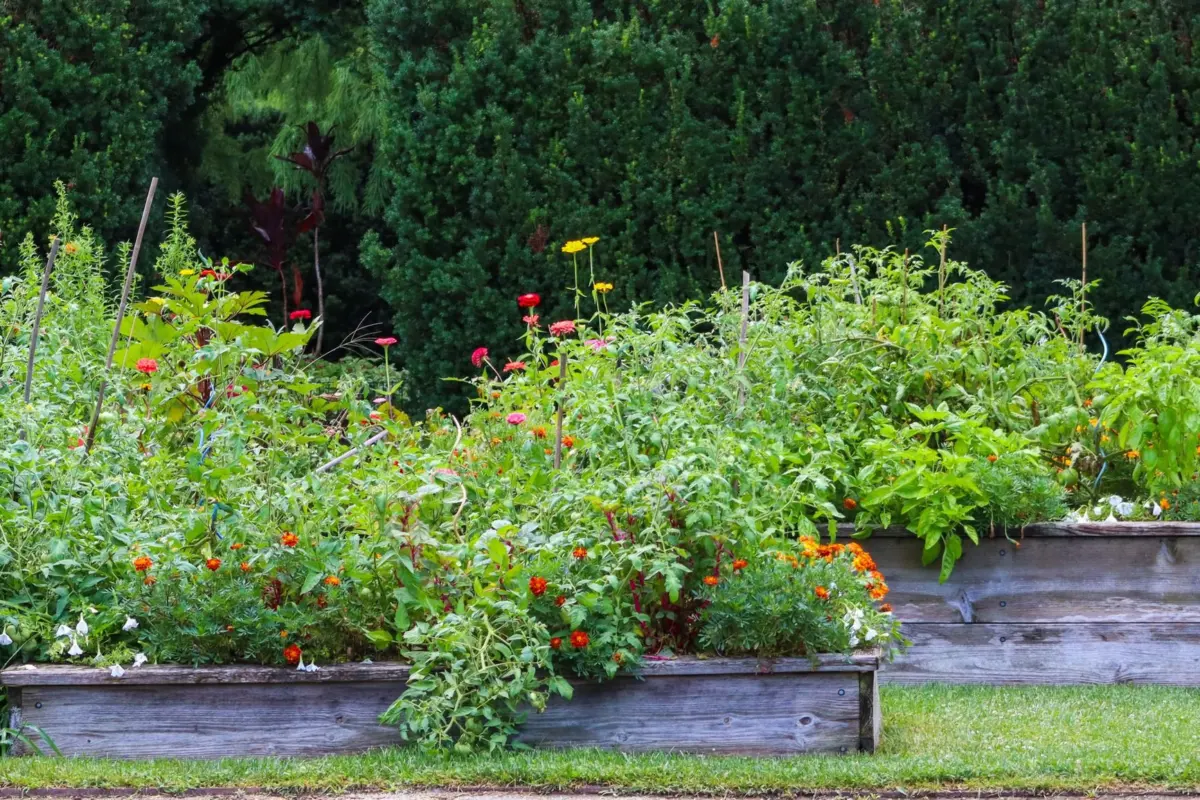
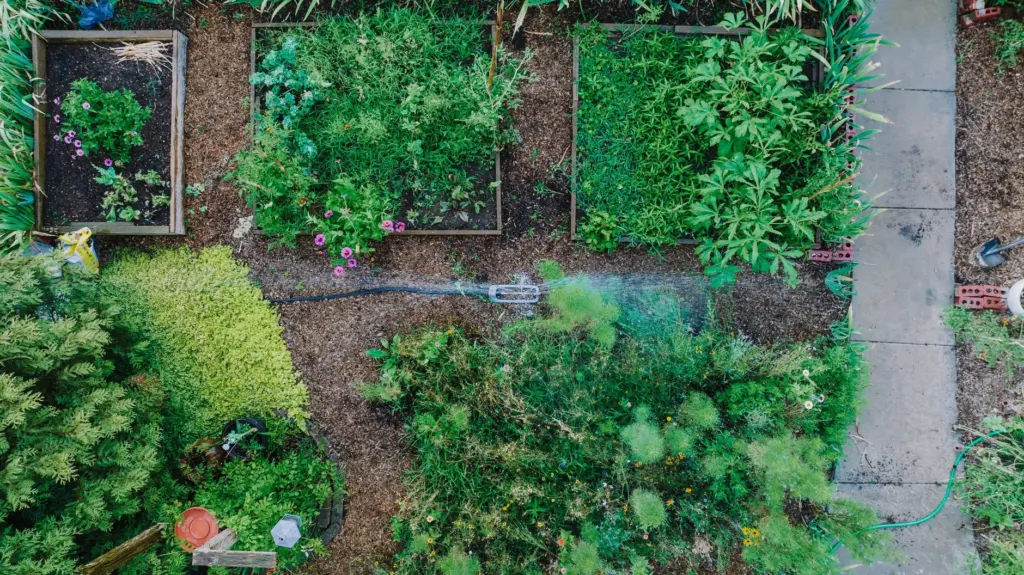
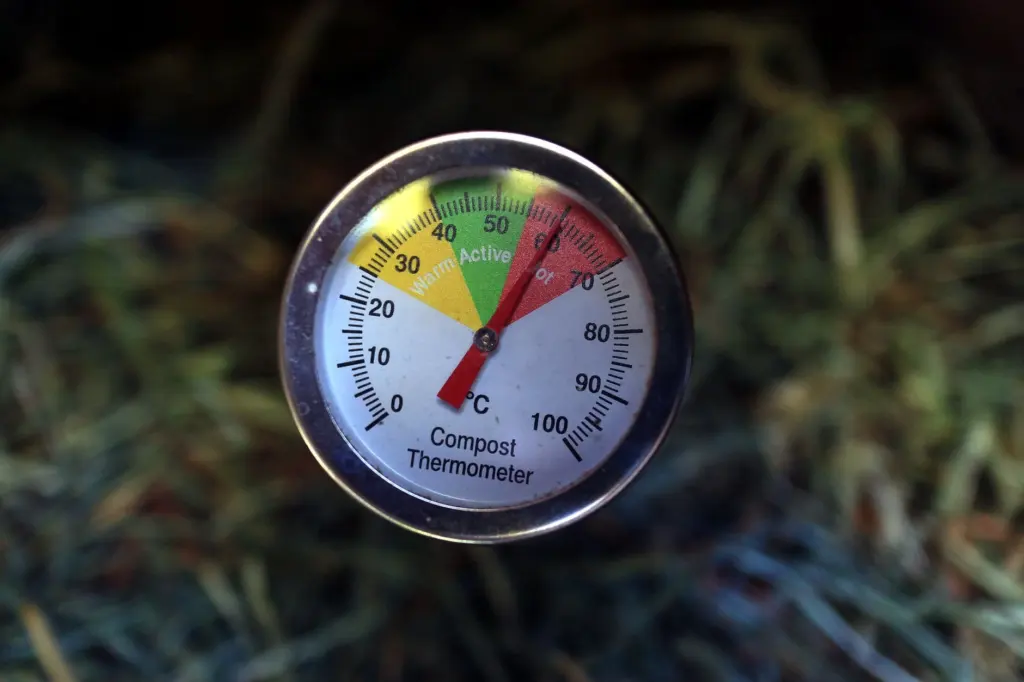
Compost is the organic matter that sandy beds lack, and it is also the usual topping for in-ground beds, so a compost bin earns its place in a beginner garden. Mulch goes on top of the soil afterwards. It covers the surface between plants, and the paths and beds in the layout photo above show the finished look. Mulch also protects the soil you have just improved, so apply it as the last step in bed preparation rather than as an afterthought.
Container mixes
Pots do not use native soil. The growing guide describes coir as holding water and air in roughly equal parts, which is what roots want. A mix with that balance drains without drying out immediately, which is a useful target when you shop for potting mix. Pots lose their structure over time, so plan to replace part of the mix rather than topping up the same material for ever.
Planting step by step
The planting routine for container-grown perennials is simple, and the same care applies to transplants of any kind. The steps below follow the perennial planting guide.
- Check the match. Confirm that the plant tag zone suits your zone and that the spot gets the light the plant needs.
- Prepare the ground. Break up compacted patches and work in compost where the soil is poor, following the soil advice above.
- Dig the hole. Make it twice as wide as the container and no deeper than the container. A wide hole gives roots loosened soil to spread into, while a hole no deeper than the container keeps the plant from sitting too low.
- Set the plant. Place it in the hole, refill around the root ball and firm the soil gently.
- Mulch. Spread 8 cm (3 in) of mulch around the plants.
- Water in. Give the new planting a good drink so the soil settles around the roots.
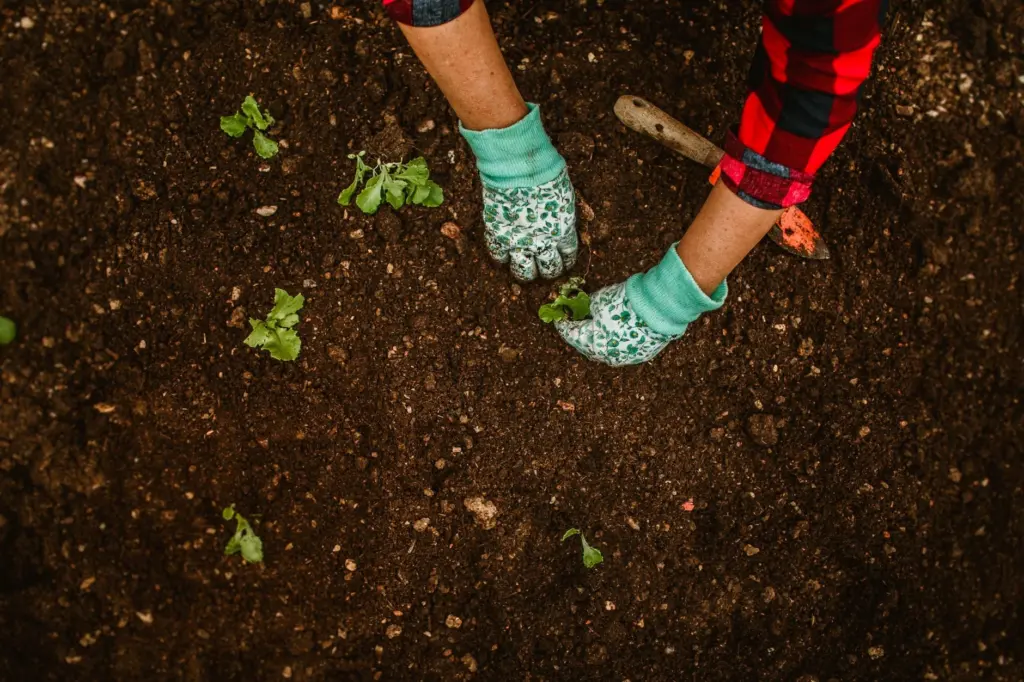
Small seedlings are set into the bed more simply than shrubs, but the same ideas apply: loosened soil, enough room between plants and mulch afterwards. Soil that is dark and crumbly, as in the photo, is the sign that the preparation has worked.
Watering beds and containers
There is no fixed number of times a week to water a garden. The beginner growing guide puts it plainly: water when the top inch dries, not on a schedule. Push a finger into the soil, and water if the top inch is dry. If it is still damp, wait. The method adjusts itself to heat, rain and the type of soil, which a calendar cannot do.
Containers versus beds
Containers dry fast, so they need more frequent attention, and outdoor beds are watered less often and are easier to control. Group pots where you pass them daily, so a dry pot is noticed. Beds with a mulch layer, as described in the soil section, give you more margin.
Water the soil, not the leaves
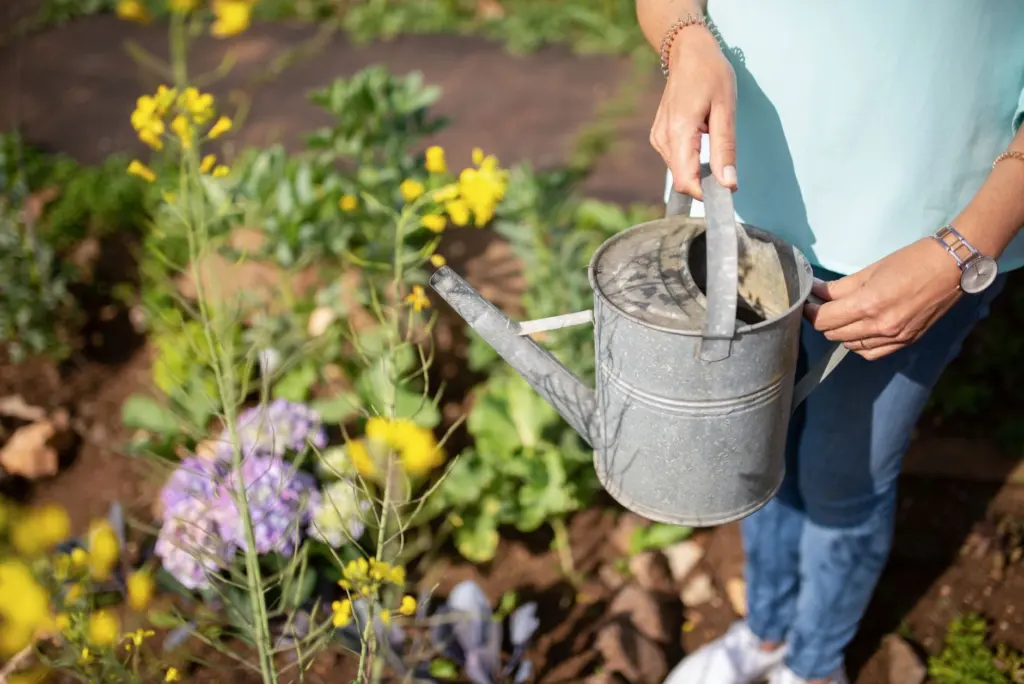
When watering perennials, avoid wetting their leaves to prevent disease. Aim the can or hose at the base of the plant. A watering can with a long spout is a simple tool for the job, and it also shows how much water each plant receives.
Dealing with common garden pests
Regular inspection is the most dependable pest strategy for a beginner. For outdoor plantings, the growing guide says to plan on rotating and inspecting weekly. Set a regular day, perhaps when you check the soil for watering, and look at the whole plant, not only the top of the leaves.
What to look for
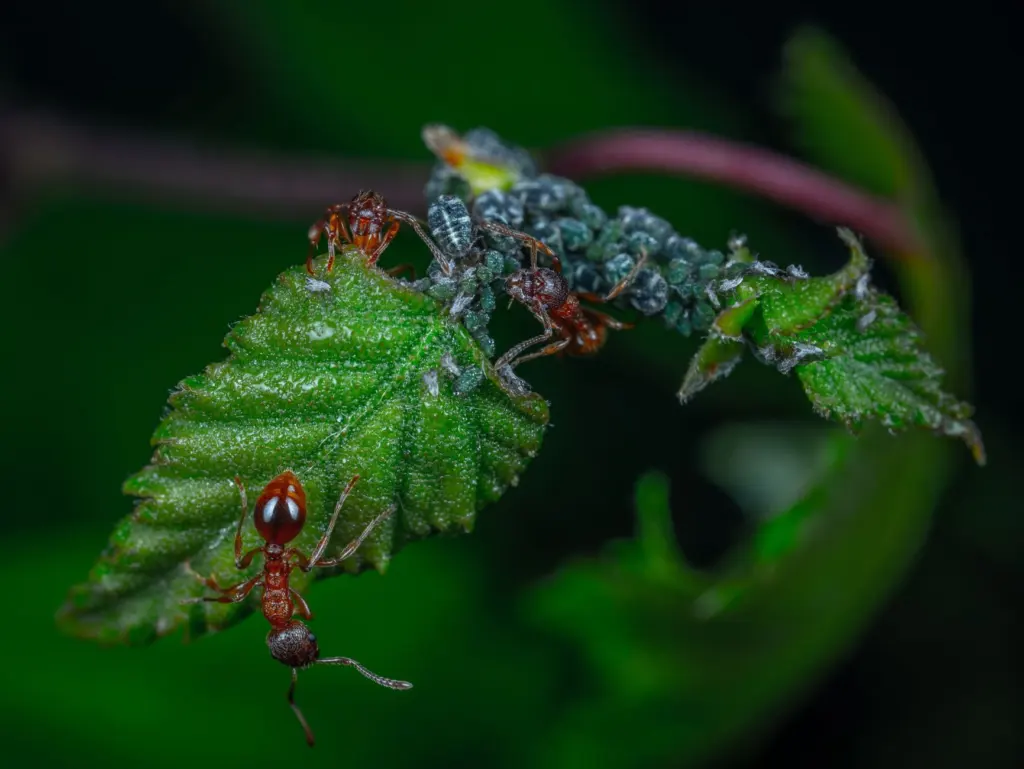
Aphids are one of the most common callers. They show up as clusters of small, grey-green insects on stems and leaves, and the close-up below shows ants beside such a cluster. Check stems and the undersides of leaves, where small insects are easy to miss. Catching a cluster early is easier than dealing with a colony.
Responding sensibly
Identify what you are seeing before you act, because different pests call for different responses. Use the weekly check to compare plants as well. A single struggling plant in a healthy bed often points to a local cause such as light, water or soil. Damage across many plants suggests a pest or disease moving through the bed.
Where to go next
Once the first bed is planted, choose the next project by the space you have and the plants you enjoy.
- Houseplants and windowsill projects: How To Grow Succulents: Easy Steps To Thriving Plants In 2026 suits gardeners with bright windows but no outdoor space.
- Seasonal indoor blooms: How To Grow A Christmas Cactus: Easy Care Tips For Bigger Blooms In 2026 is a good long-term houseplant.
- Propagation: How To Propagate Monstera Deliciosa: A Step-By-Step Guide For Healthy New Plants (2026) turns one plant into more.
- Kitchen experiments: How To Grow An Avocado From A Pit: A Simple Step‑By‑Step Guide For 2026 is a low-cost project for curious beginners.
Frequently asked questions
What do the letters a and b after a zone number mean?
They are sub-zones that, according to the hardiness zone guide, indicate 5°F increments within a zone.
How cold and how warm do the zones run?
Zone 1 is the coldest, with temperatures down to -60°F, while Zone 13 is the warmest, reaching temperatures above 60°F, as the same zone guide explains.
How often should container mix be replaced?
The beginner growing guide advises refreshing container medium every two to three cycles.
When can perennials go into the ground?
A perennial planting guide says most perennials can be planted any time from the last winter frost through autumn.