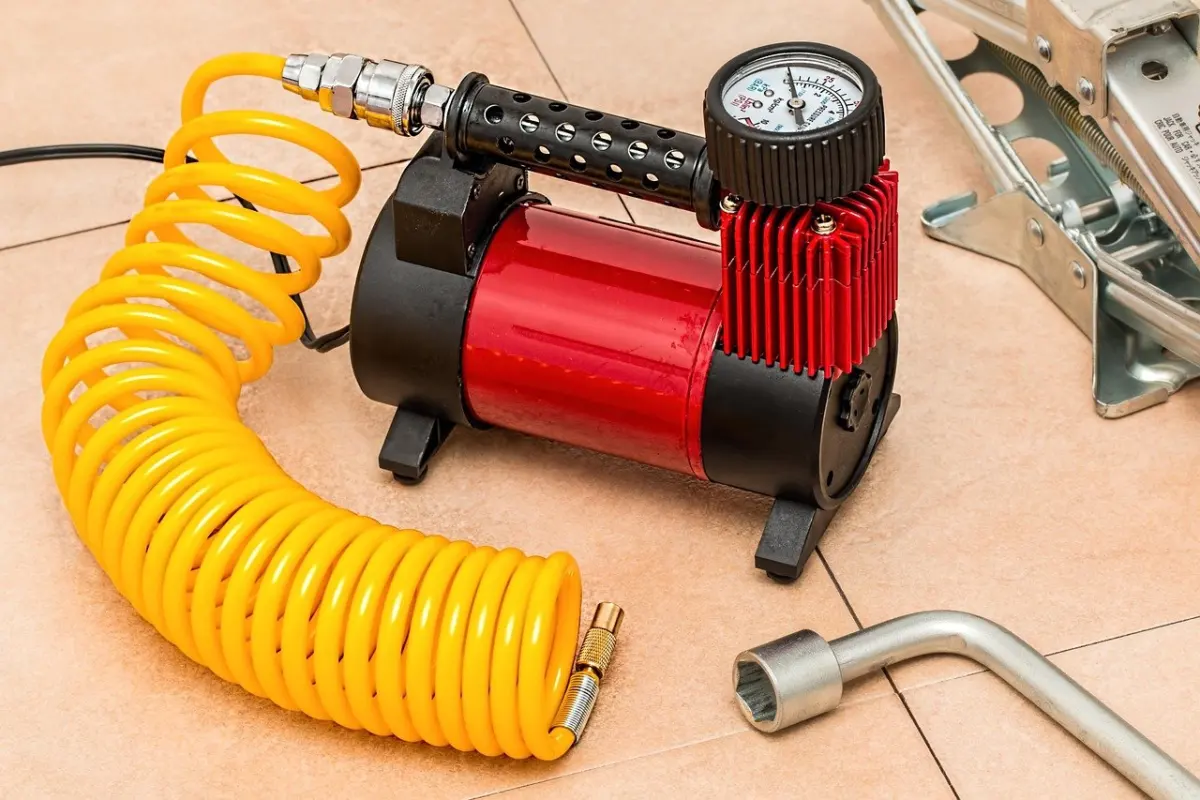
A cold forecast is coming and the controller is still running. Here is how to winterize a sprinkler system: close the supply, clear the lines with compressed air, and insulate what sits above ground. The compressor’s pressure limit is the main condition.
This job belongs on any seasonal garden checklist, because the cost of skipping it shows up as cracked parts in spring. The sections below separate what is well supported from the shortcuts that tend to leave water behind.
Why water left in the lines causes the damage
Water expands when it freezes, and iFixit’s winterizing guide notes that this can crack fittings, sprinklers, valves, pumps and pipes. The cold itself is not the problem. The problem is water still sitting inside those parts when the temperature drops. The goal of winterizing is therefore to get water out, and shutting off the supply is only the first move toward that.
That distinction explains most of the mistakes people make. A system can be switched off and still hold water in low runs, risers and the backflow assembly. Each method below is really a different way of removing that water, and they do not all remove the same amount.
Common misunderstandings about draining
Three methods are in common use: a compressed-air blowout, automatic drain valves and manual drain valves. They differ mainly in how completely they clear the lines.
| Method | How it clears water | Limit | Planning use |
|---|---|---|---|
| Compressed-air blowout | A compressor pushes water out of each line, zone by zone | Needs a compressor and eye protection; described as removing water more completely than drains | Choose it when thorough removal matters most |
| Automatic drain valves | Drains open when pressure is low; shut the main, then run the heads to release pressure | Cannot guarantee complete water removal | Treat as a baseline on systems already fitted with them |
| Manual drain valves | Open the valves at the ends of the pipes, drain the system, then close all valves | Cannot guarantee complete water removal | Suits owners without a compressor, with the limit in mind |
The comparison draws on a sprinkler-supply winterizing guide and a landscaping company’s winterizing advice.
- “Closing the water supply is enough.” It stops new water arriving but leaves what is already in the pipes. The supply-guide steps also open the hose bib on the main supply line that connects to the irrigation system, so remaining water can drain out.
- “Auto-drains mean the system is dry.” Automatic drains open when pressure is low, but the same guide says automatic and manual drains cannot guarantee complete water removal. Blowing out the lines is described as the most effective approach by a rental company’s winterizing steps.
- “A manual drain is the same as a blowout.” Opening the valves at pipe ends lets water out, but it relies on the layout rather than forcing water through each line, so it shares the limit above.
If your system has drains and you are comfortable accepting that limit, they are a reasonable fallback. If a burst repair would be expensive or disruptive, the blowout is the better-supported choice.
Step-by-step blowout checklist
Work through these in order. Each step protects either the equipment or you.
- Put the controller in rain mode. This lets the timer keep running, which saves your programming while the valves stay shut off, according to the rental guide.
- Close the main shutoff. It is usually in a utility room or basement, per iFixit, and the landscaping company says the main water valve is usually near the water meter.
- Close the backflow valves. They typically occur in twos, and both should be turned off.
- Open the hose bib on the main supply line. This drains remaining water from the supply side of the irrigation system.
- Check the compressor’s rating. Do this before you start; the next section explains why it matters.
- Connect the compressor to the mainline just after the backflow device. This is the connection point the rental guide describes.
- Put on safety glasses. They protect your eyes from pressurized air and debris.
- Blow out the farthest zone first. Work toward the mainline, clearing each line in turn. On uneven terrain, start the higher zones first.
- Insulate the above-ground parts. The protection section below covers this.
The zone order is not cosmetic. Starting at the far end and working back means air pushes water toward open outlets rather than leaving pockets behind in distant runs. The sequence also keeps your attention on one zone at a time, which makes it easier to notice a head that is not clearing.
Setting the compressor pressure
No single pressure figure suits every system, and the rental guide’s instruction is simply to check your air compressor’s rating before you start. The reason is practical: too much pressure can damage pipes and valves.
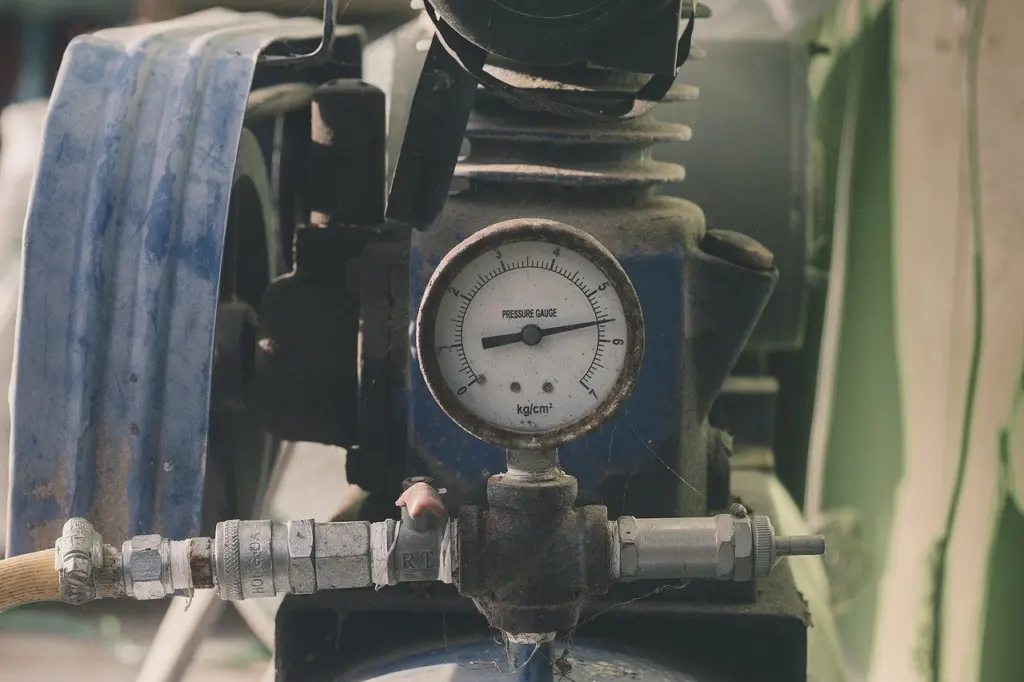
Treat the compressor’s rating as what the machine can deliver, never as a target. The right setting depends on what is installed in your system, so look up the pressure limits for your pipes, valves and backflow device in their manuals or from the manufacturer. If you cannot find those limits, that is a good reason to hand the job to a professional rather than guess.
Protecting the backflow preventer and exposed parts
The backflow preventer is the most exposed component. The rental guide warns that the bonnet and poppet assembly inside it can freeze and burst, and recommends wrapping it with insulation and covering it with a plastic bag.
The landscaping company extends the same idea to other above-ground parts: wrap exposed pipes, backflow preventers and the main shut-off valve in foam covers or insulation tape. It also says to keep drain outlets and vents clear, so the covering does not trap water or block the drains you rely on.
- Cover the backflow device fully. It is the part most likely to be above ground in the open.
- Wrap the shutoff and exposed pipe. Foam covers or insulation tape both work for this.
- Leave outlets and vents open. Insulation should not seal them.
DIY blowout or hiring a pro
The guidance is not unanimous. iFixit rates its winterizing guide at 35 minutes and moderate difficulty, which suggests a capable homeowner can do it. A landscaping company, by contrast, advises against the blow-out process as potentially dangerous and likely to damage the system, and recommends professional draining. The supply guide takes a middle line: consult a professional if you need clarification or extra tools.
Use those positions to decide based on your situation rather than on a single rule.
- DIY suits you if you already have, or can borrow, a compressor, you can read its rating, you know where the shutoff and both backflow valves are, and you can work through the zone sequence without rushing.
- Hire a pro if you cannot confirm the pressure your pipes and valves can take, you are unsure how the zones are laid out, or you lack the right fittings. A mistake with pressure is the costly one, so uncertainty there should decide it.
- Drains instead of either only if you accept that they cannot guarantee complete water removal.
Whichever route you take, the eye protection and the compressor rating check do not change. A professional carries those concerns for you; as a DIY owner you carry them yourself.
After the blowout
Once the lines are clear and the exposed parts are wrapped, the garden calendar shifts to planting. Timing guides such as When To Plant Butterfly Bush: The Best Timing By Zone + Seasonal Planting Tips (2026 Guide) and When To Plant Allium Bulbs: The Easy 2026 Guide To Perfect Spring Or Summer Blooms help you plan the next stage of the garden year.
Frequently asked questions
| Question | Answer |
|---|---|
| Where do I find the main shutoff? | It is usually in a utility room or basement, according to iFixit. A landscaping company adds that the main water valve is usually near the water meter. |
| How long does winterizing take? | iFixit’s guide lists a time of 35 minutes and moderate difficulty, though a larger system or unclear layout can take longer. |
| Does rain mode raise energy costs? | A landscaping company says it is usually effective and will not increase energy costs. |
| Why insulate if the lines are already blown out? | The backflow device’s bonnet and poppet assembly can freeze and burst, so insulation adds protection to the parts above ground. |